Simple, Quick, and Cookie-Free: Plausible Analytics Setup Guide

Introduction
When you create a website, you probably want to know who visits your site, which browser they use, where your traffic comes from, and which of your contents are the most popular. There are plenty of tools you can use to get this kind of data. However, some of these tools provide tons of data that you might not even need, which can make things unnecessarily complicated.
At the end of the day, not everyone wants to see every single detail; sometimes, you just want to keep things simple. That’s exactly where I am, and I don’t want to deal with unnecessary data. This is where Plausible comes into play! It shows you what’s happening on your site in a simple way, while keeping all measurements completely anonymous. No cookies are used, no personal data is collected, and it’s open source.
I should also mention: since it doesn’t rely on cookies, it is less likely to be blocked by ad block extensions compared to other analytics tools. For example, Google Analytics can often be blocked by ad blockers. (Side note: If you’re using multiple analytics tools and you’re getting different results, you might want to look into this.)
If you’d like to compare Plausible with other tools, their website has detailed comparisons that you might find useful:
Two Versions of Plausible: Cloud and CE
Plausible offers two different versions:
- Cloud: You can pay $9 per month and simply add a single script to your website to start using it without any hassle.
- Community Edition (CE): If you’re up for a self-hosted solution, you can host it on your own server with about 15–30 minutes of effort. A small server costing $3–$4 per month will do the job.
The choice is entirely yours. If you’re thinking, “I don’t want to deal with this, I’ll just pay”, the Cloud version is perfect for you. But if you’re saying, “I’ll put in a bit of effort, and I’ll spend the extra money on coffee”, then CE is the way to go. 😉
Alright, now let's get to the main part. I've written the code for you; all you need to do is a bit of CTRL + C and CTRL + V.
Plausible CE Installation Guide
Now, let me walk you through how to install the CE version of Plausible step by step. I installed it on a server running Ubuntu 24.04, but don’t worry, it works smoothly on Ubuntu 22.04 as well.
Requirements
- Docker and Docker Compose must be installed.
- Your CPU must support SSE 4.2 or NEON (no ARM processors).
- At least 2 GB of RAM is recommended to avoid issues.
First, connect to your server using SSH:
ssh root@YOUR_SERVER_IPThen, update and upgrade the server packages:
sudo apt update && sudo apt upgrade -yIf there are kernel updates, reboot the server:
sudo rebootInstalling Docker
Now, install the required dependencies:
sudo apt install -y ca-certificates curl gnupgAdd Docker’s GPG key and repository:
sudo install -m 0755 -d /etc/apt/keyrings
curl -fsSL https://download.docker.com/linux/ubuntu/gpg | sudo gpg --dearmor -o /etc/apt/keyrings/docker.gpg
sudo chmod a+r /etc/apt/keyrings/docker.gpg
echo "deb [arch=$(dpkg --print-architecture) signed-by=/etc/apt/keyrings/docker.gpg] https://download.docker.com/linux/ubuntu $(lsb_release -cs) stable" | sudo tee /etc/apt/sources.list.d/docker.list > /dev/nullFinally, install Docker:
sudo apt update
sudo apt install -y docker-ce docker-ce-cli containerd.io docker-buildx-plugin docker-compose-plugin
After completing this step, your Docker installation will be finished. When you run the command below, you should see an output similar to the example provided (version numbers may vary).
docker --version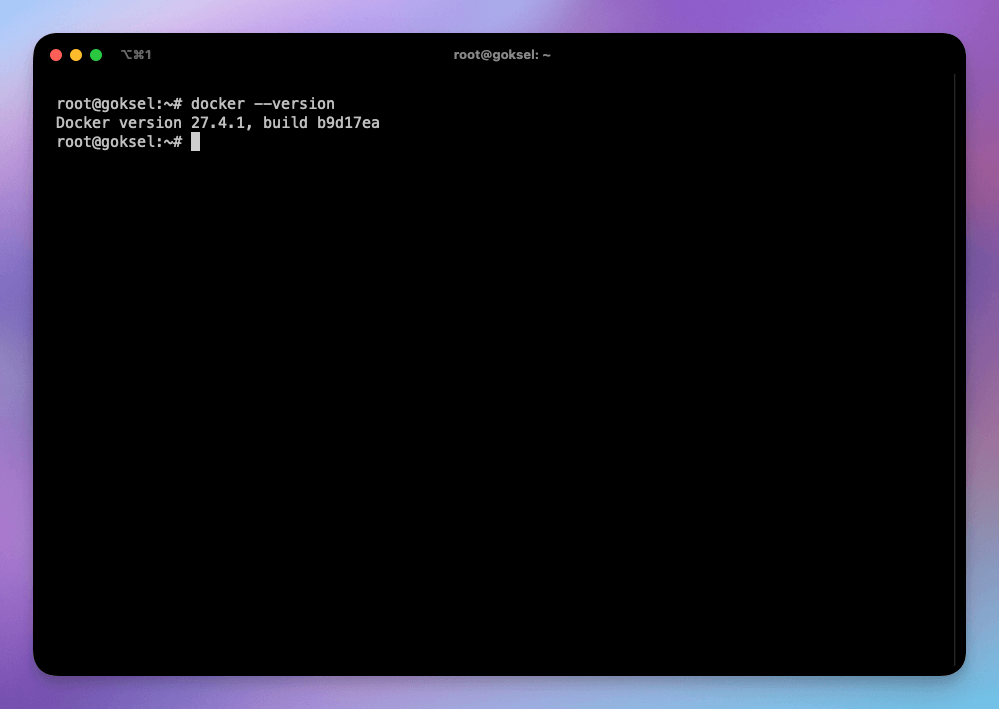
Installing Docker Compose
If Docker Compose is not already installed, you can install it using the following commands:
sudo curl -L "https://github.com/docker/compose/releases/download/v2.22.0/docker-compose-$(uname -s)-$(uname -m)" -o /usr/local/bin/docker-compose
sudo chmod +x /usr/local/bin/docker-compose
sudo docker ps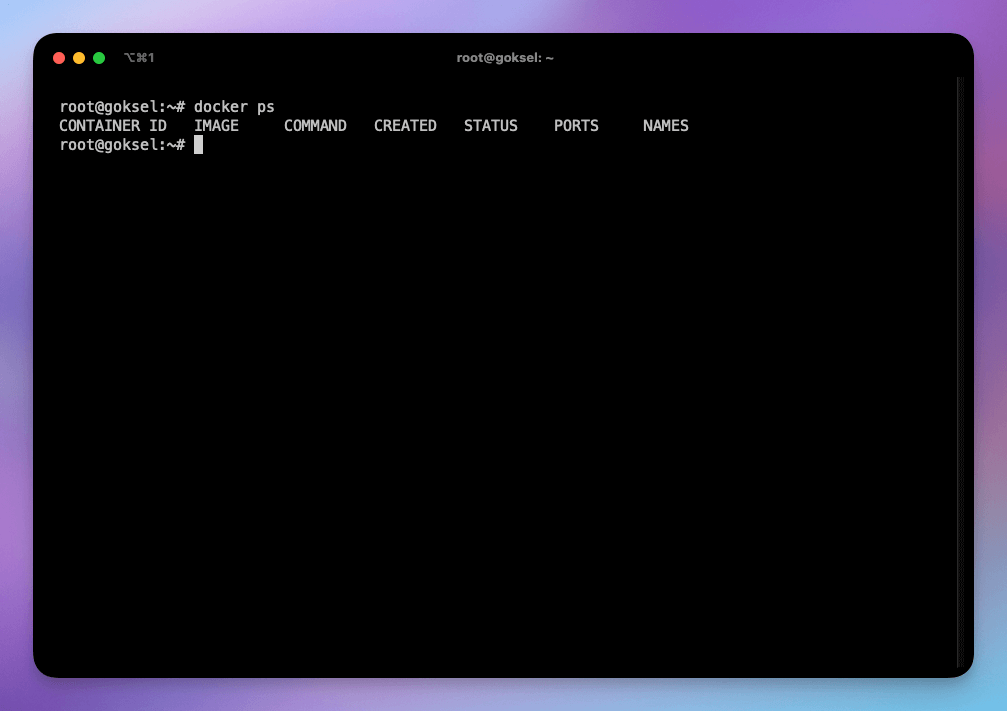
Installing Plausible Analytics
Now it’s time to install Plausible. First, we’ll clone the official Plausible repository to our server. (Keep in mind that newer versions of Plausible might be available. If so, make sure to update the command before running it.)
I’ll follow my own folder structure for the installation. However, if you prefer to use a different structure, don’t forget to adjust the commands accordingly.
git clone -b v2.1.4 --single-branch https://github.com/plausible/community-edition /home/plausible-analytics
cd /home/plausible-analytics
Creating the .env File
We’ll create a .env file for Plausible and add some basic configuration details:
touch .env
echo "BASE_URL=https://plausible.goksel.dev" >> .env
echo "SECRET_KEY_BASE=$(openssl rand -base64 48)" >> .env
echo "HTTP_PORT=8000" >> .env
cat > compose.override.yml << END
services:
plausible:
ports:
- 8000:8000
environment:
DISABLE_HTTPS_REDIRECT: true
ENDAdjusting Ports
If you change the default ports during installation, ensure you update the ports accordingly in the nginx configuration step.
That’s all we need to configure for now. Next, let’s install nginx on our server.
Reverse Proxy and SSL Setup
I’ll use nginx as a reverse proxy and set up an SSL certificate using Let’s Encrypt. (Alternatively, you can use CaddyServer, ApacheServer, or similar tools, but this guide will focus on nginx.)
Installing nginx
Let’s start by installing nginx:
sudo apt install -y nginxNext, let’s clean up the default nginx configuration:
sudo rm -rf /etc/nginx/sites-available/default
sudo rm -rf /etc/nginx/sites-enabled/default
Now, create a configuration file for your domain:
sudo nano /etc/nginx/sites-available/plausible.goksel.dev.confCopy and paste the following configuration into the file and save it.
❗Don’t forget to update the server_name and proxy_pass port values to match your setup.
server {
    server_name plausible.goksel.dev;

    location / {
        proxy_pass http://127.0.0.1:8000; # Docker Plausible Port
        proxy_set_header Host $host;
        proxy_set_header X-Real-IP $remote_addr;
        proxy_set_header X-Forwarded-For $proxy_add_x_forwarded_for;
        proxy_set_header X-Forwarded-Proto $scheme;
        proxy_http_version 1.1;
        proxy_set_header Upgrade $http_upgrade;
        proxy_set_header Connection "Upgrade";
    }

    listen 80;
}
sudo ln -s /etc/nginx/sites-available/plausible.goksel.dev.conf /etc/nginx/sites-enabled/We check for any errors in the configuration, and if there are none, we reload nginx. (If you encounter an error, the message will indicate which line contains the issue.)
sudo nginx -t
sudo systemctl reload nginx
SSL Certificate with Let's Encrypt
Now, let’s set up SSL. To do this, we first need to install certbot on the server:
sudo apt install certbot python3-certbot-nginxOnce certbot is installed, we can create the SSL certificate:
sudo certbot --nginx -d plausible.yourdomain.comWe’ve now created the SSL certificate, completed the nginx configuration, and finalised the setup for Plausible.
Navigate to the directory where Plausible is installed, and start it using Docker:
cd /home/plauisible
sudo docker compose up -d
Once the process is complete, run the following command to check the status:
sudo docker ps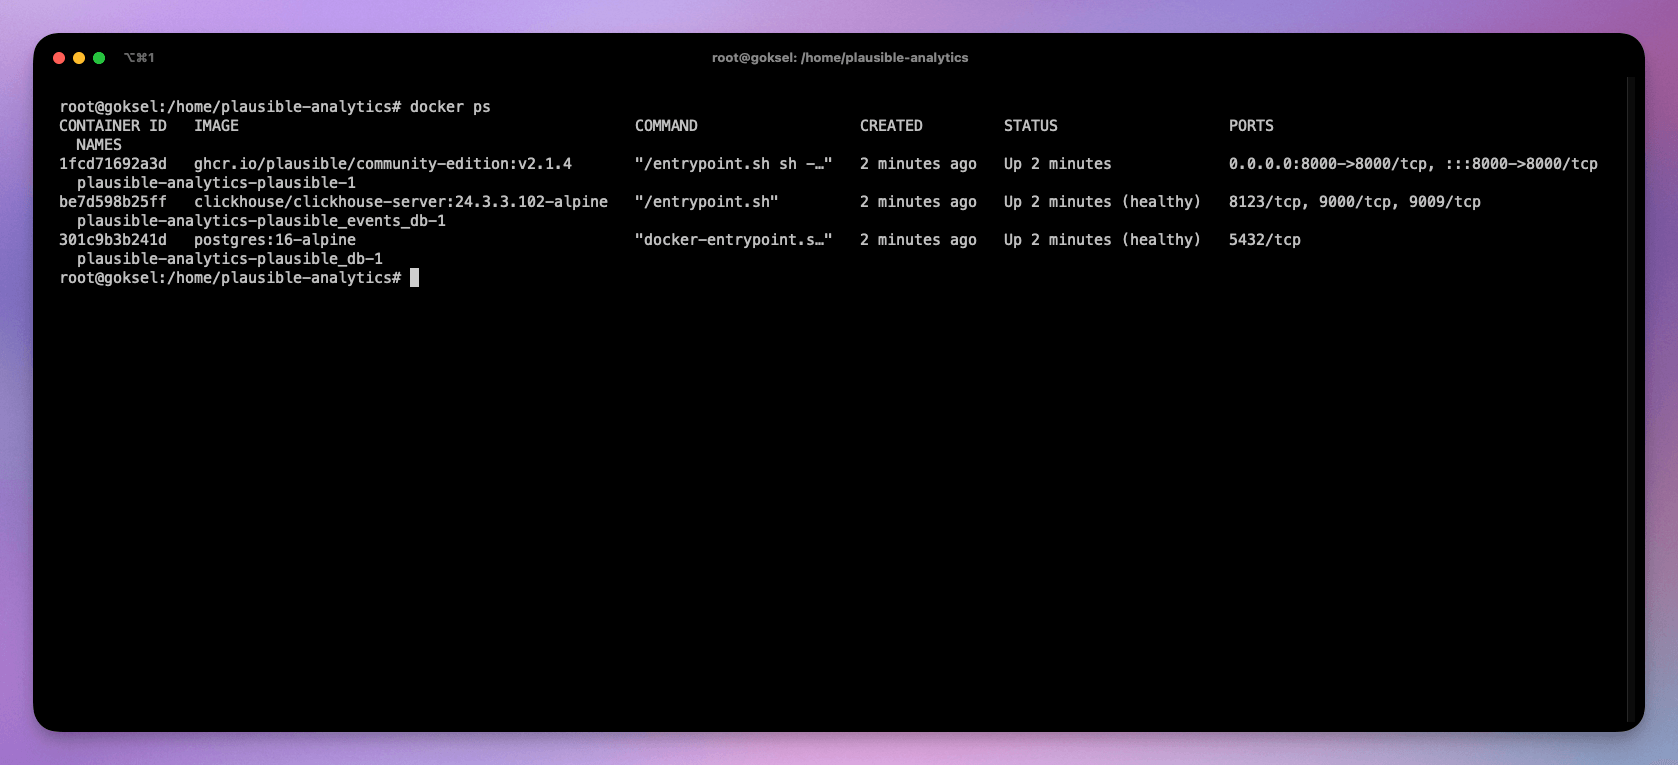
If you see an output similar to the example below, congratulations! Plausible is running smoothly on Docker. Now, visit your site. 🎉
Plausible Panel Setup
We’ve reached the final step of the setup. In the Plausible panel, you’ll need to fill in your details to complete the configuration.
If you’d like to enable additional features like password resets, you’ll need to set up SMTP settings. I won’t go into detail about that in this guide, but Plausible’s documentation provides clear instructions. You can easily activate email functionality by adding a few lines to your .env file.
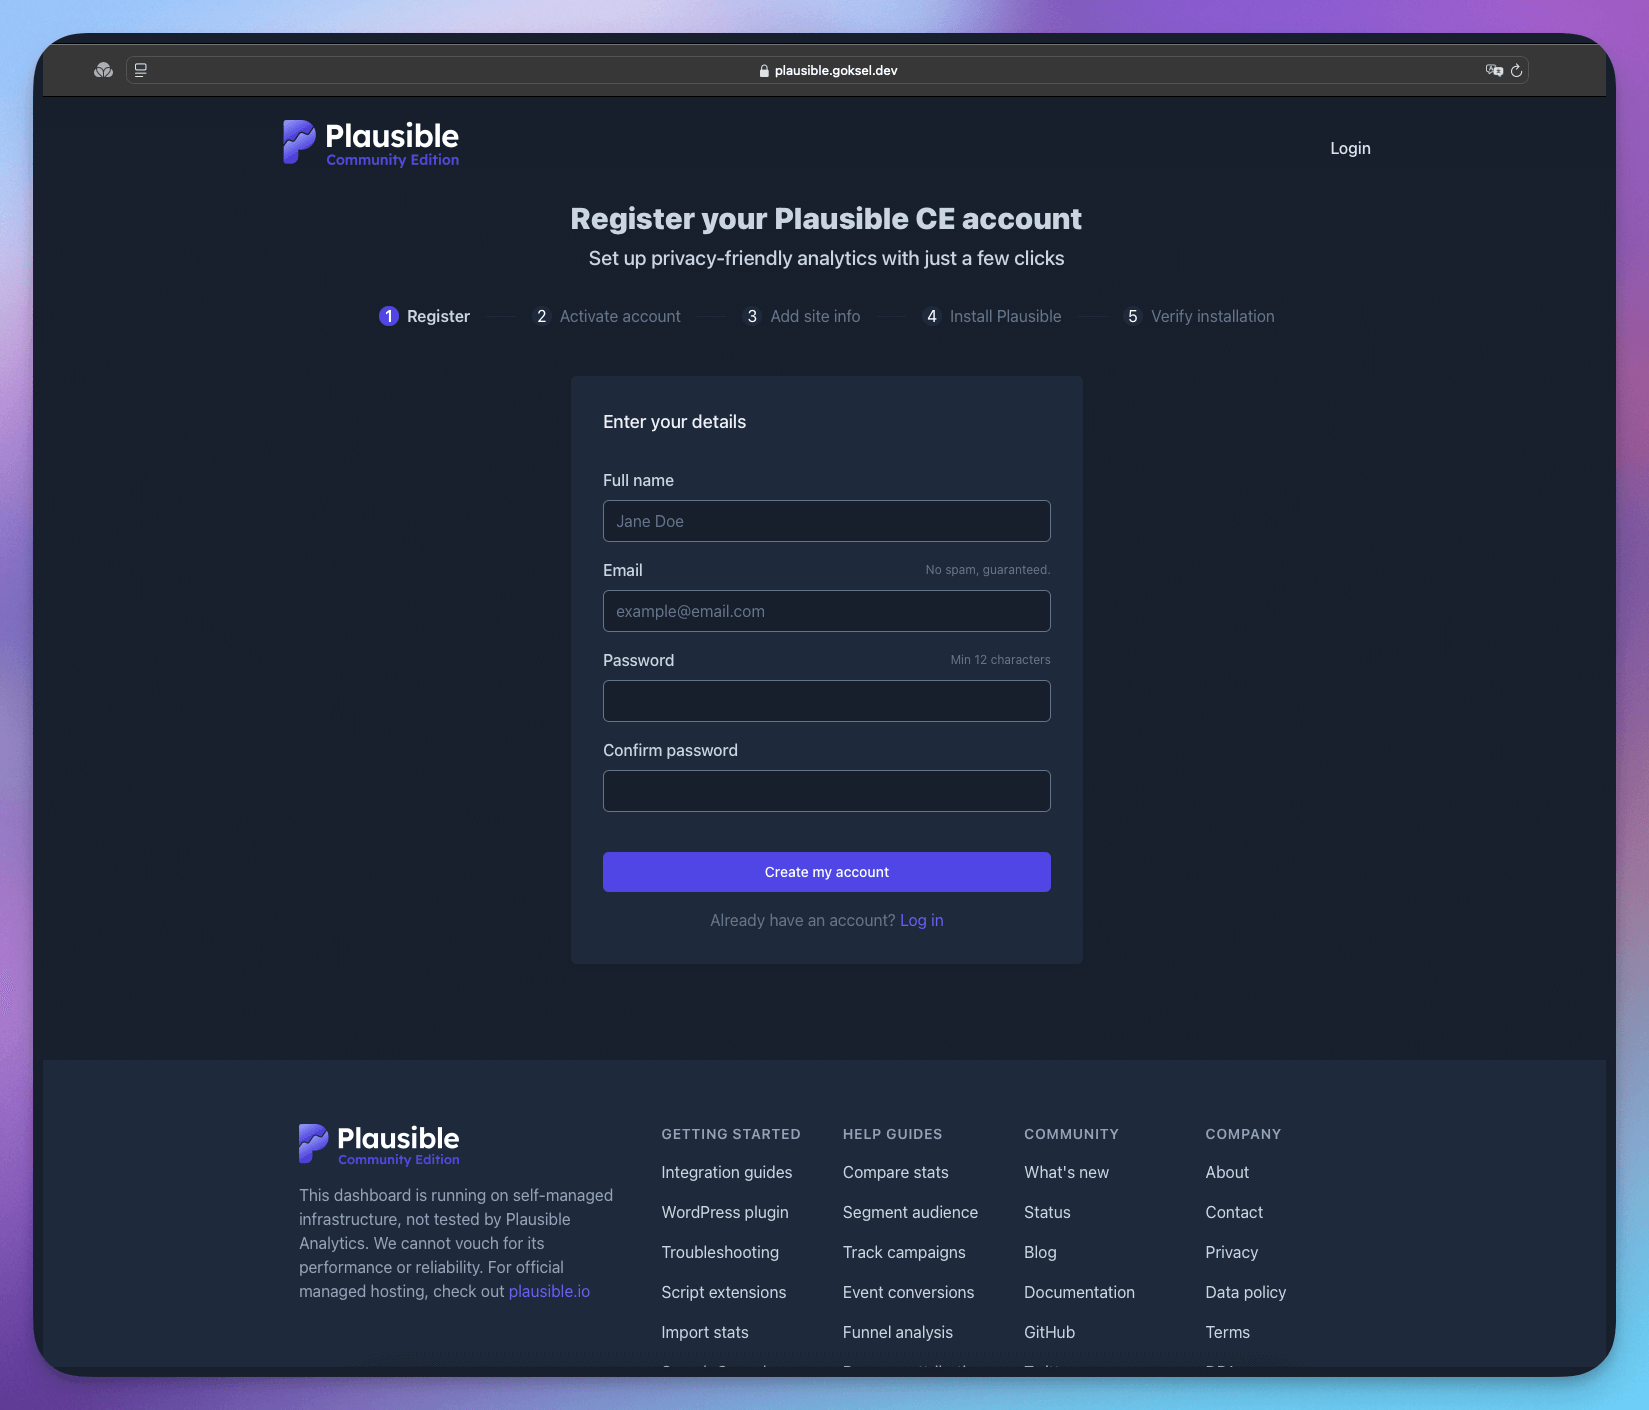
Possible Issue: SSL and WebSocket Errors
If you can access the site but something isn’t working—like clicking the "Create my account" button does nothing—check your browser’s console.
If you see an error related to WebSocket, it’s likely due to a minor issue in your SSL configuration.

But don’t worry, the solution is simple: Go back to your nginx configuration and add the missing lines to the location block:
proxy_http_version 1.1;
proxy_set_header Upgrade $http_upgrade;
proxy_set_header Connection "Upgrade";
Then reload nginx:
sudo systemctl reload nginxAfter this step, everything should work as expected!
Analytics Data
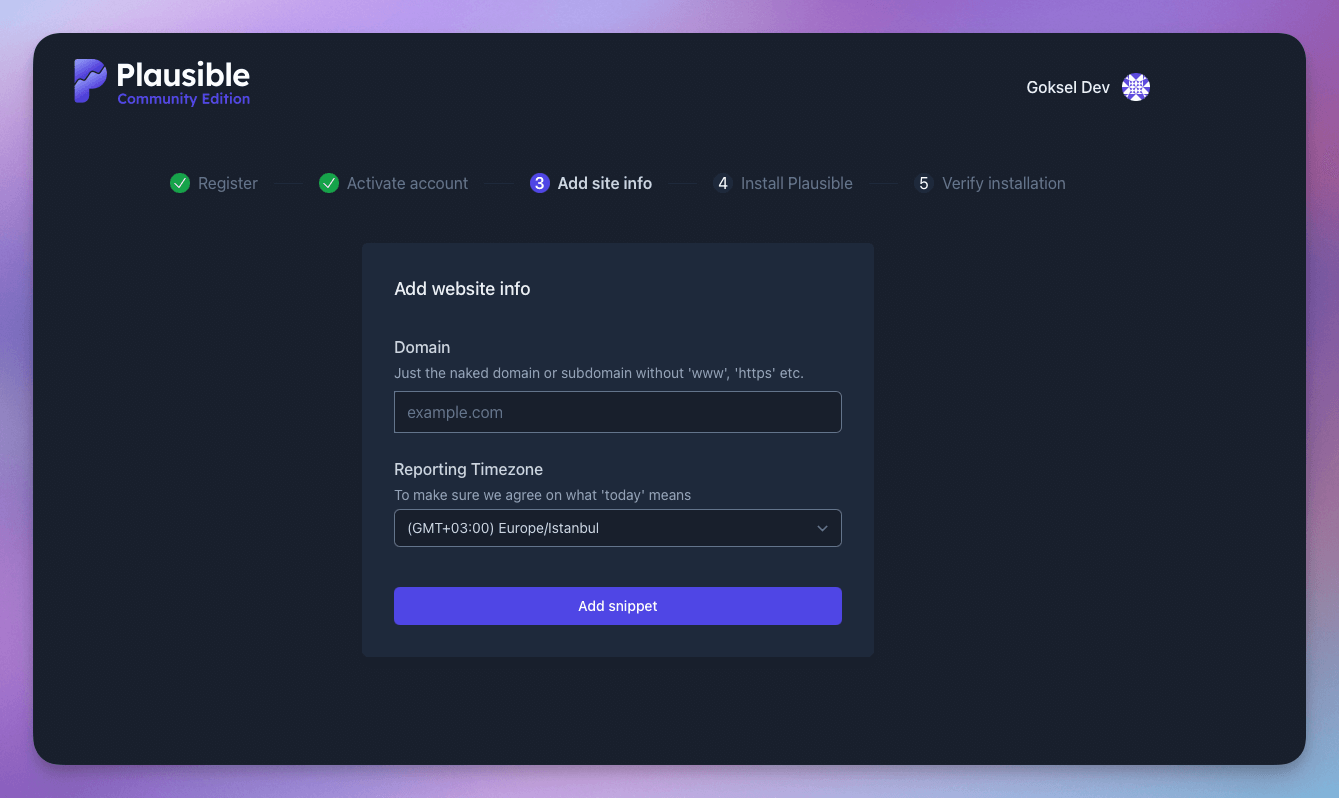
Now it’s time to select which site’s analytics you want to track. In the panel, enter your site’s URL and choose the appropriate timezone for reporting. Once this step is completed, you can easily add additional sites to track in the future.
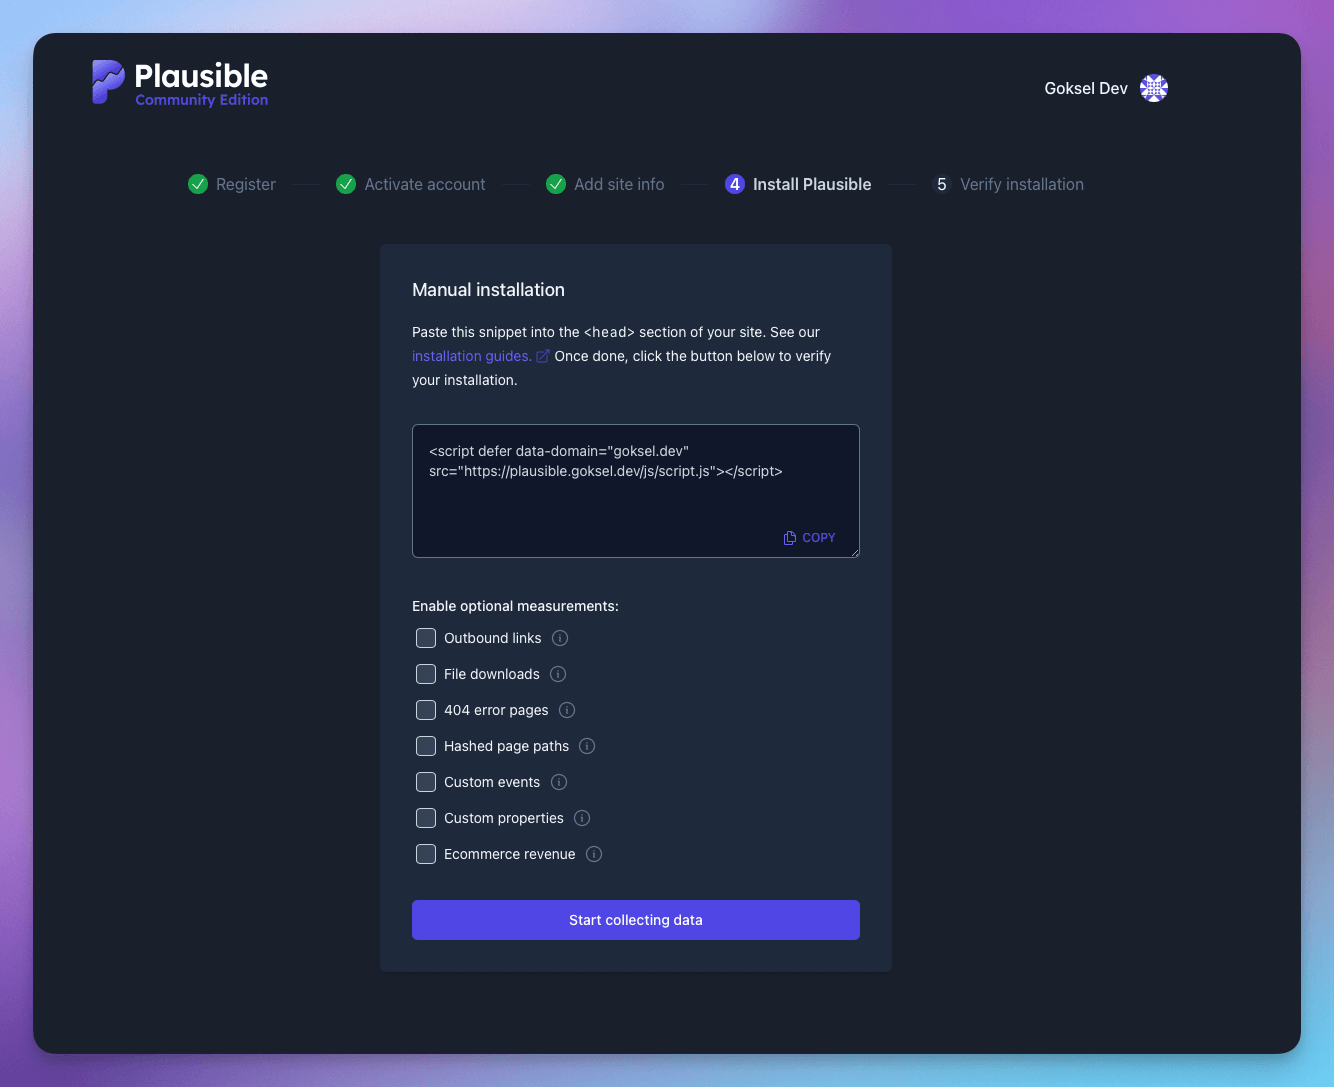
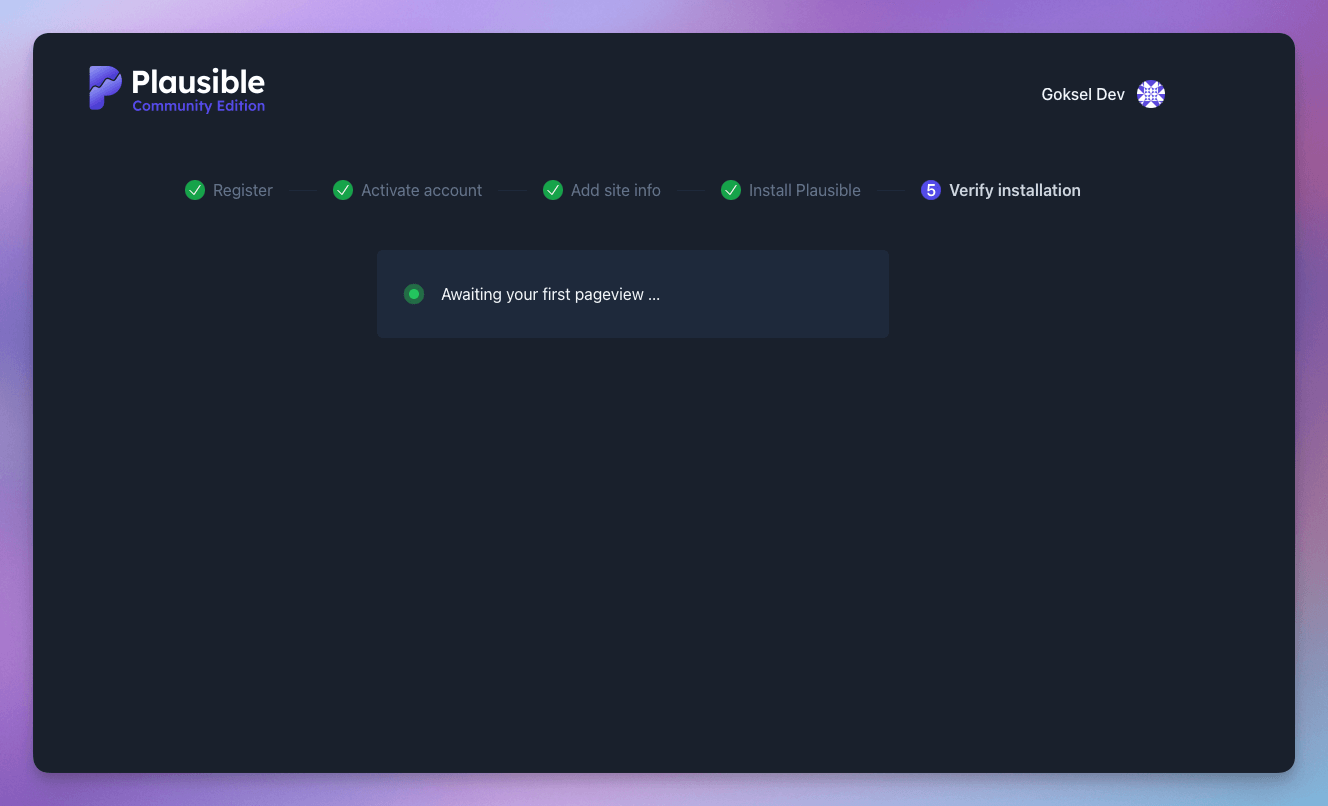
If you see this screen, open your site in a different tab and celebrate 🥳
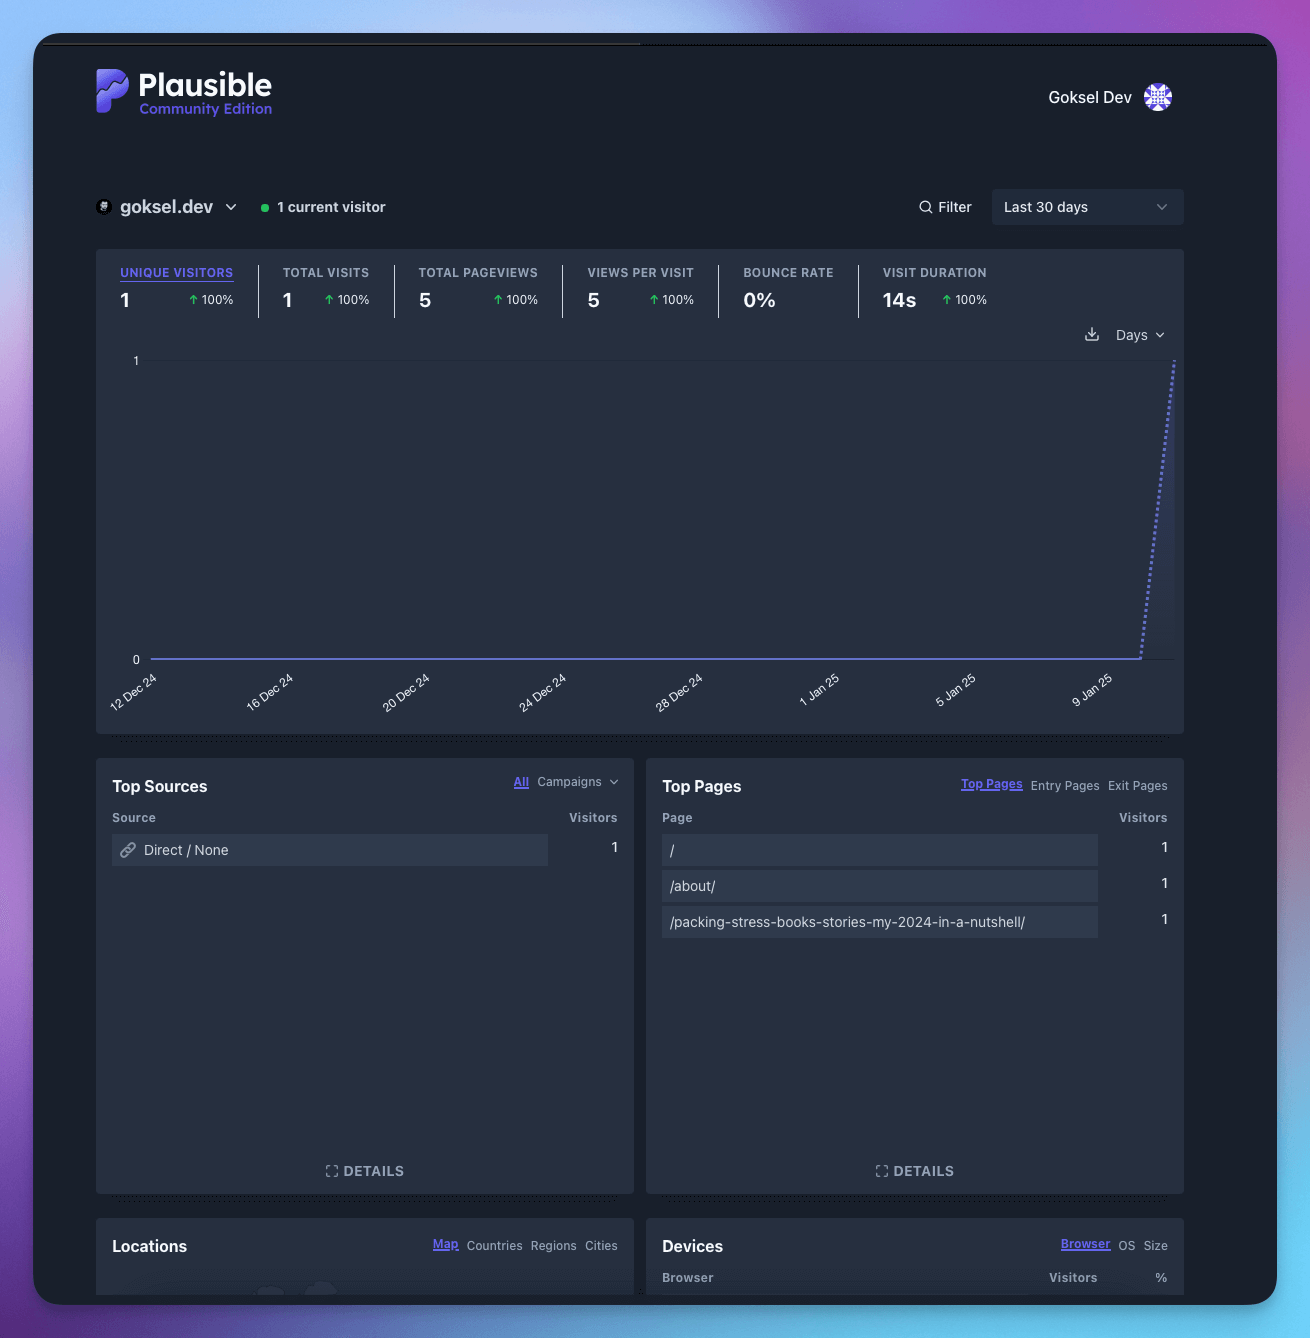
Time to Treat Yourself to Some Real Cookies 🍪
That’s it! Grab a cup of coffee, pair it with a cookie, and enjoy monitoring your site’s analytics with ease! ☕ 🍪
No spam, no sharing to third party. Only you and me.

